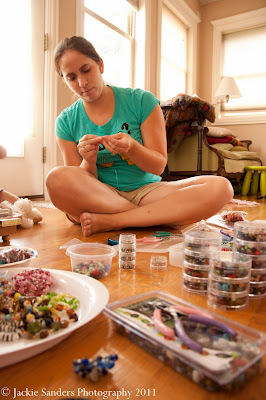
Supplies:
-A clasp of your choice
(Toggle, Lobster, etc)
-2 crimp beads
-Fishing line, hemp, etc.
-Needle nose pliers
or a Crimp tool
-Beads
Start by cutting a length of fishing line (here we used fishing line but you can use any variety of things to string your beads onto, as long and it's good and sturdy like fishing line or hemp etc) long enough for a necklace or bracelet. I would suggest making it longer than you think you need because you can always make it shorter but you can't make it longer. A good starting point would be between 30-40 inches or longer.
String a crimp bead and one half of your clasp onto your length of fishing line. Thread your line back through the crimp bead, leaving a tail of several inches. You will thread the length of line and the tail through the beads as your working. This will give you extra stability and lessen your chances of beads falling off later. You should now have a small loop coming out of your crimp bead that has your clasp hanging from it. Using a needle nose pliers press the crimp bead flat. Then going between your two pieces of line press perpendicular on the bead as well. This will ensure the lines don't fall out of the crimp bead.
 |
Add your choice of beads until you get the length you want. Make sure you leave several inches at the end of your line to add the other half of your clasp. When you've finished adding your beads repeat Step 2 and 3 and thread your tail back through your beading. Tada you have a beaded necklace. You can add multiple lengths of beads to your clasp for a layered look or add a pendant for added interest. You're only limited by your imagination and creativity.
Melissa, my youngest brother's wife, worked on a all pink necklace to which she added a pendant that I'll show you in my next tutorial. Below is one of Amy's many creations. She loves to mix things up with color and texture.
Everybody got in on the act including my 2 year-old nephew who has already mastered the beading technique.


